Glue Batik
Froggy has needed a new big girl apron for some time now. Part of her costume for Purim was a plain white bakers apron.
After Purim, we decided to liven it up a bit before introducing it to regular wear. Enter our first ever attempt at Glue Batik. We found a tutorial here. It looked easy enough and we had all the supplies. The hardest part was finding the acrylic paint amidst all the washable paints.
First we drew our designs on the apron. Froggy knew she wanted a fairy theme but picking the fairy and getting the right design in the right size was a very challenging but fun project for her. I traced each of the designs onto the apron for her using my light box.
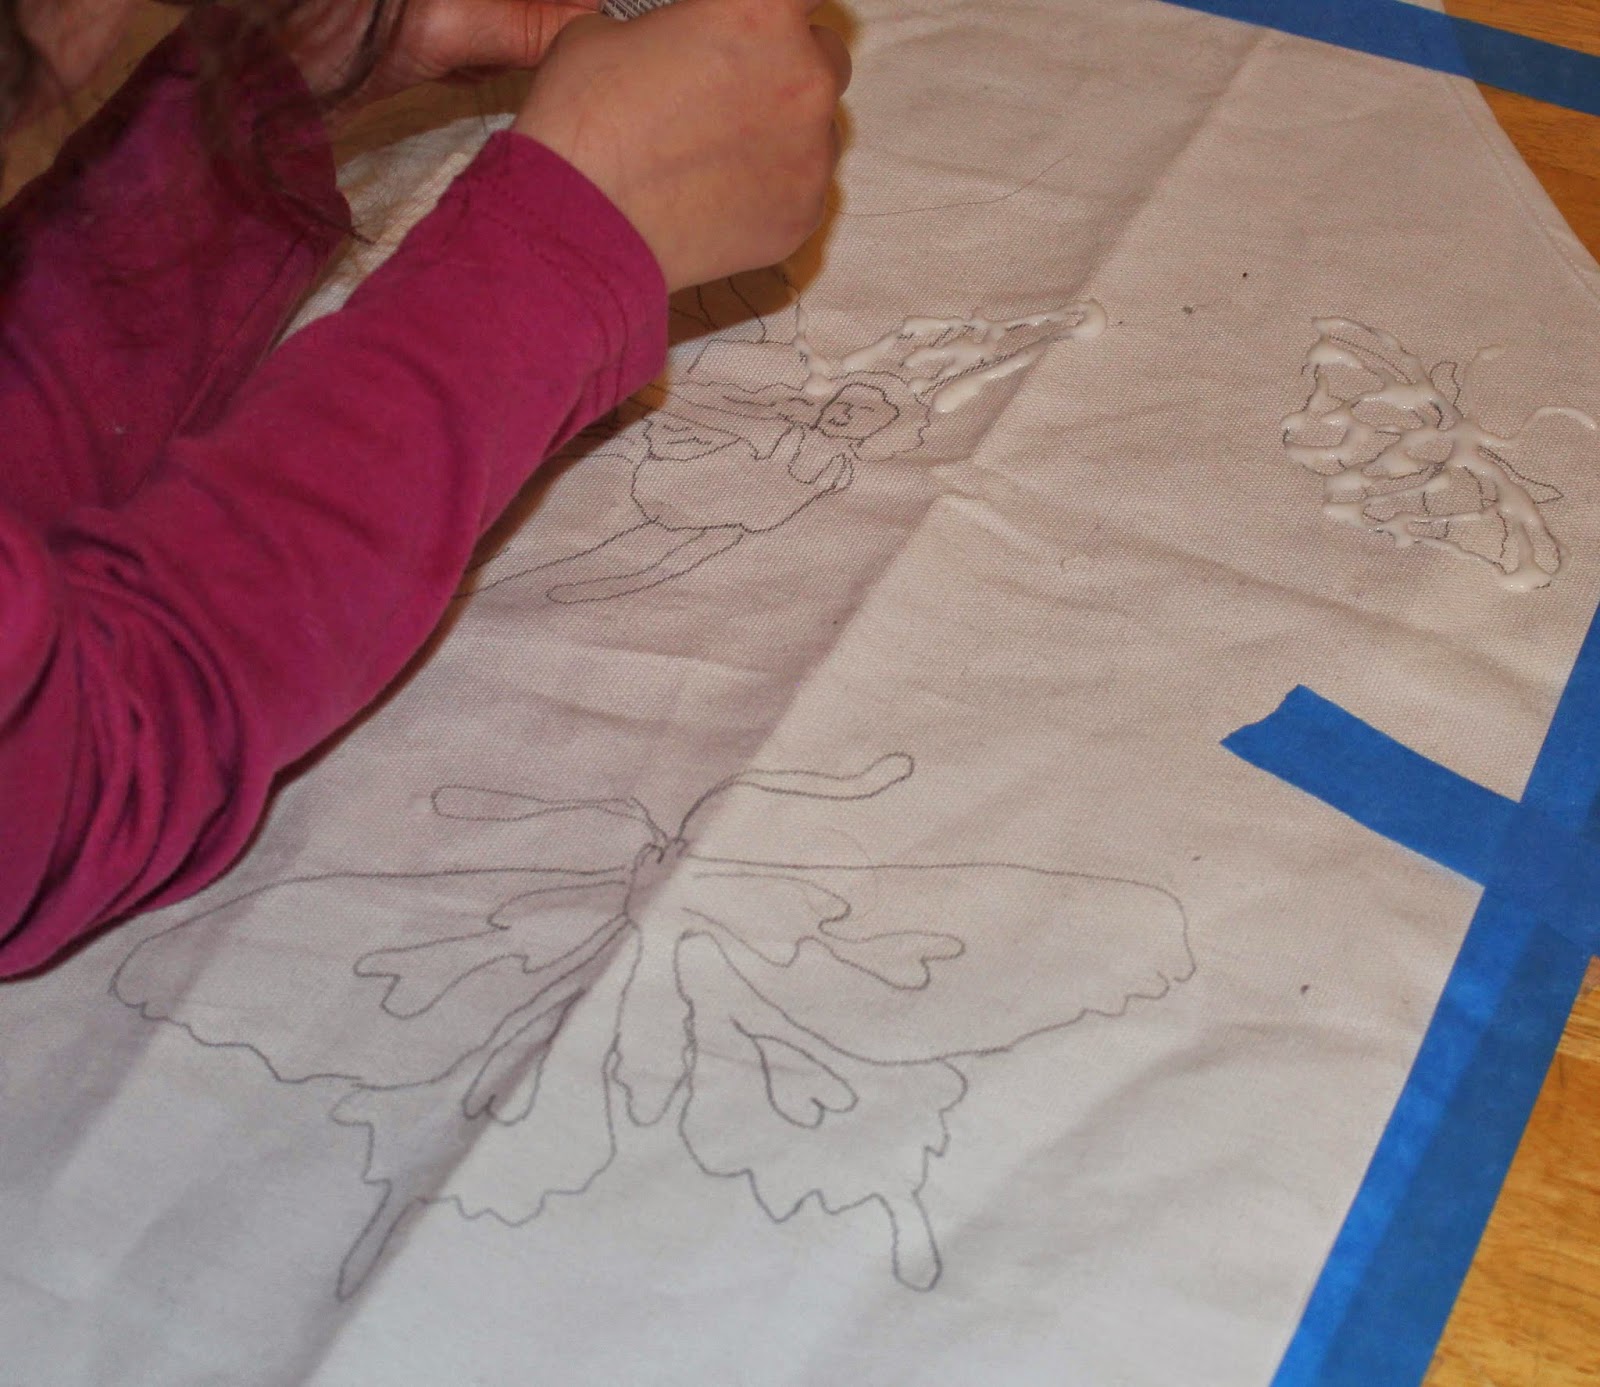 Once the designs were in place she added the glue. I reminded her to start at the top and work towards then left. She did it all herself. We let the glue dry overnight and then set to painting. She did all the details first, let those dry completely then added the background. I wish I had taken a picture of that part but life happens.
 We let it dry overnight again. Then came the magic of batik. Here you can see the detail on one of the butterflies. Some did not come out as well because the glue or the paint was too thick. We missed the instruction about watering down the paint. We will remember that the next time.
 And here is the finished piece. The fairy in the center really turned out nicer than the picture shows. Froggy was very pleased with the results.
After Purim, we decided to liven it up a bit before introducing it to regular wear. Enter our first ever attempt at Glue Batik. We found a tutorial here. It looked easy enough and we had all the supplies. The hardest part was finding the acrylic paint amidst all the washable paints.
First we drew our designs on the apron. Froggy knew she wanted a fairy theme but picking the fairy and getting the right design in the right size was a very challenging but fun project for her. I traced each of the designs onto the apron for her using my light box.


Comments
Post a Comment